To The Surface is an exploration game, and as such it requires a large map to explore. In order to create the map within the two-week timeframe, I had to create a novel map editor and use several automated tools.
The map is pretty big. The spaceship is two units high. The map is 1024 units square.
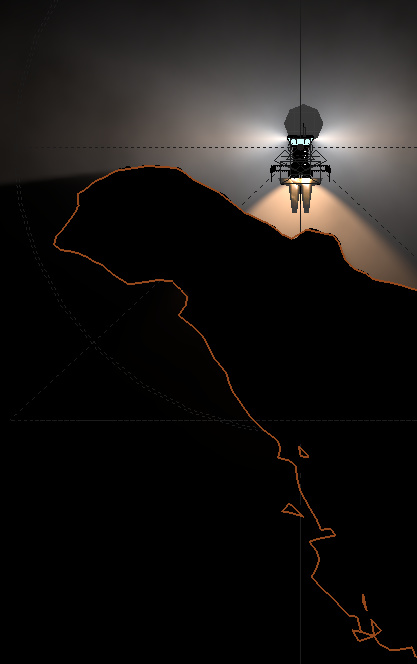
In practical terms that looks like this:
The map is also pretty detailed. If you zoom in on the grass you see:
Rendering
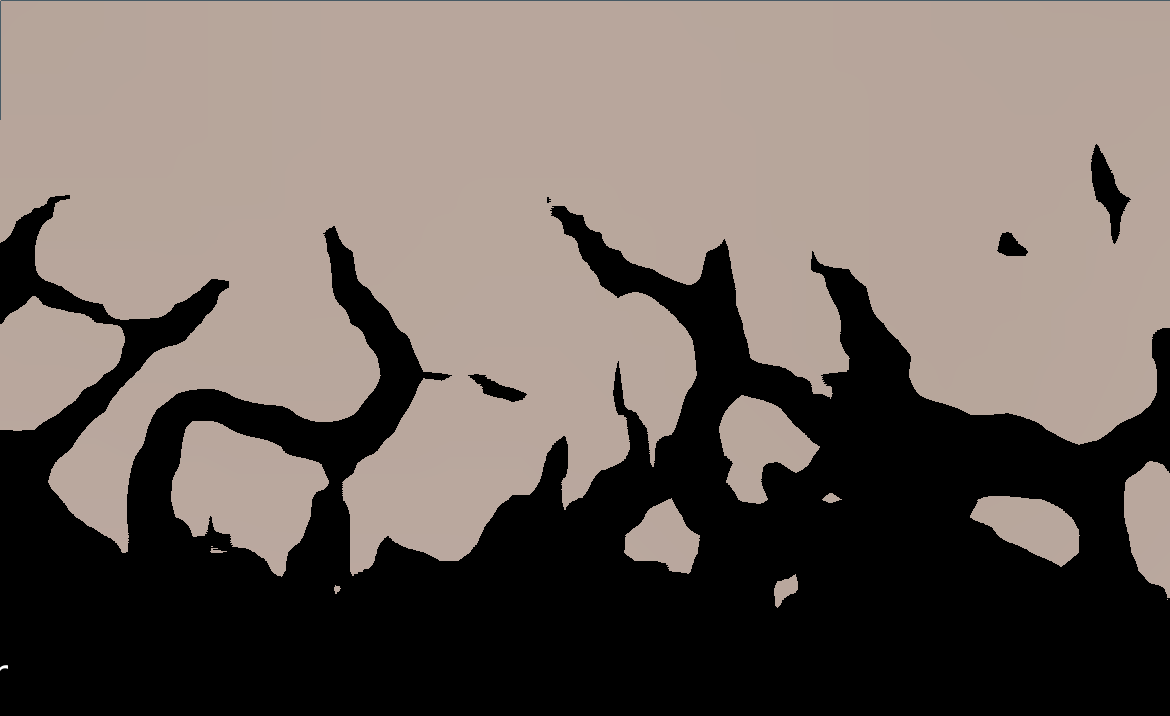
The map is stored as a single texture with one pixel per unit, and yet it provides detail far in excess of this. This works because each pixel in the map texture has 256 possibly alpha values, means that if we use a comparison such as "dirt is where the alpha value is > 128", and use linear interpolation, then we can place a wall with a precision of 1/256th of a unit. The only downside is that you can't have pockets or rocks smaller than a single unit.
If it were just a single texture, the terrain would all be smooth. To provide interest, the map texture is modulated by some details textures. One detail texture contains different types of "rocks" such as smooth dirt, jagged rocks and pebbles. The other contains grass that you can overlay.
You can see how the detail is "built up" in this animation:
In blenders shader editor, it looks like:
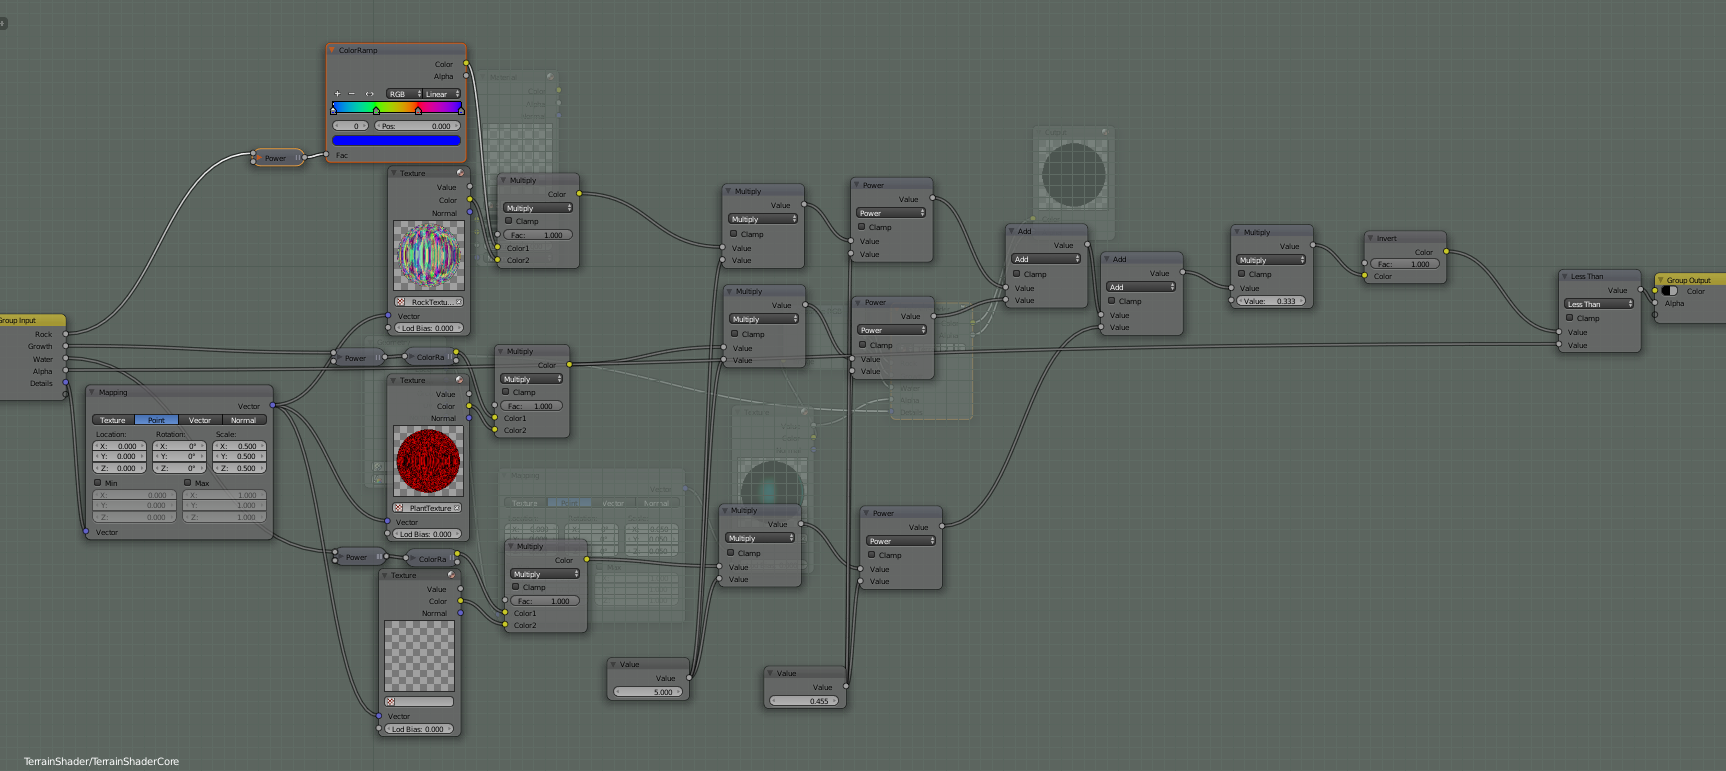
There are four input channels (RGBA of the terrain map). Each get’s
multiplied against a channel in the associated texture. This means you
have 9 different detail textures, of which three can be displayed
simultaneously (and you can display mixes between them). Each detail
texture is mapped to 1/3 of the alpha values, which allows the full
range of the detail textures channel values to come from the texture.
This also allows you to put grass on the rocks without either texture
“clipping.”
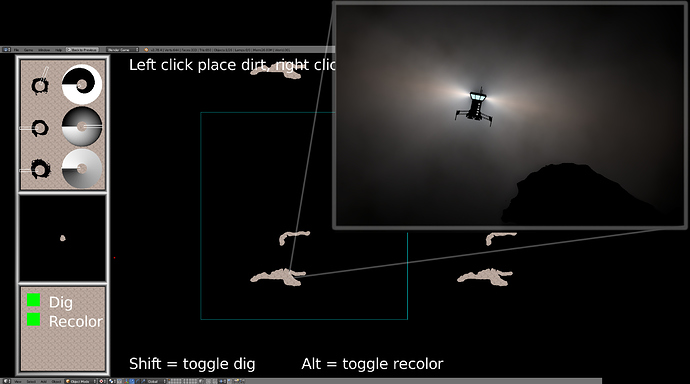
Making the map texture was done by creating a level editing program allowing
you to see what the detail shader would do:
Physics
It's a big map, and I didn't want to generate a physics mesh by hand. I wanted it to be auto-generated - but how do you generate a mesh for a texture that's been modulated by a complex shader and ensure they line up? Well, I chose to render out a large version of the map including the details from the shader. It is rendered out at 16x resolution (ie 16px/unit - 16384x16384 total size). It takes about 1/30th of a second for the GPU to generate, and then about 30 seconds to transfer it to the CPU and save it as a 1Gb bmp file. This image is is then converted into a SVG by a tool called “potrace”. The SVG is imported into blender and then:
- Converted into a mesh
- Doubles are removed at a distance of 0.01bu (because the SVG curves are quite detailed, but we only have 16px/bu of actual information)
- A limited-dissolve is run at 5 degrees to prevent excessive vertices on flat areas.
- extruded to give the physics engine something to work with.
The physics mesh is both far more detailed and a lower polycount than anything I could do by hand - but it is still a lot of polygons. Too many for the physics engine to handle at a proper frame rate as a single big mesh. But by splitting the mesh into smaller chunks, the physics engine can discard large portions of the mesh in the broadphase - saving a lot of processing time.
Summary
And that's how you build a huge map to explore in a two week gamejam. I first prototyped using thresholded detail textures in cavefly back in 2015, and I really like the look that it gives. I'll definitely continue to use this technique for 2D maps